Water supply line repair is a crucial process that ensures the functionality and efficiency of the water supply system in residential and commercial buildings. Understanding the step-by-step guide to water supply line repair can help property owners and maintenance professionals tackle issues effectively. This article provides a comprehensive overview of the process of water supply line repair, equipping readers with the knowledge they need to navigate and manage such repairs.
Step 1: Identifying the Problem
The first step in the main water line repair process is identifying the problem that needs attention. Common issues include leaks, bursts, low water pressure, or discolored water. Property owners or plumbers should carefully assess the signs, symptoms, and possible causes of the problem before proceeding with the repair.
Step 2: Shutting Off the Water Supply
Before performing any repair work, it is essential to shut off the water supply to the affected area. This can typically be done by closing the main shut-off valve at the water meter or by using a local shut-off valve located near the problem area.
Step 3: Draining the Water Lines
After shutting off the water supply, the next step is to drain the water lines to relieve any pressure and prevent flooding during the repair. Opening faucets and fixtures throughout the property can help facilitate the drainage process.
Step 4: Assessing the Repair Method
Based on the nature of the problem and the extent of damage, different repair methods may be employed. Common repair approaches include patching leaks, replacing damaged sections, or replacing the entire supply line. Careful evaluation of the situation will determine the most appropriate repair method.
Step 5: Gathering the Necessary Tools and Materials
Before initiating the repair, ensure that all the necessary tools and materials are readily available. This may include pipe cutters, wrenches, replacement pipes, couplings, fittings, soldering equipment, and appropriate safety gear.
Step 6: Executing the Repair
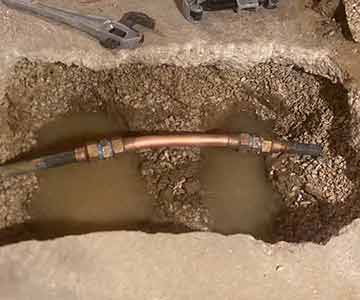
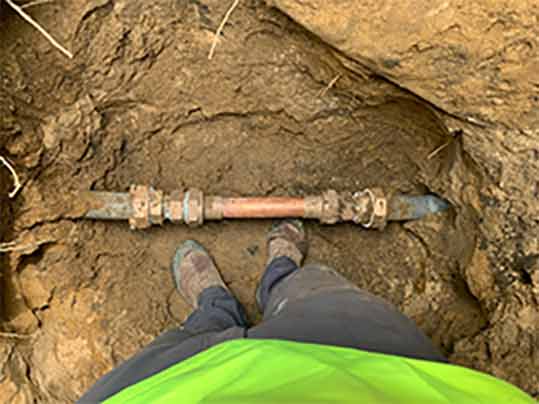
With the problem diagnosed and materials ready, it is time to execute the repair. This may involve cutting out the damaged section of the supply line, preparing the replacement pipe, and connecting it securely using suitable fittings and methods such as soldering or compression.
Step 7: Testing the Repair
After completing the repair, it is crucial to test the repaired water supply line to ensure its effectiveness. Turning on the water supply gradually while carefully inspecting for leaks, monitoring water pressure, and assessing water quality will help verify the success of the repair.
Step 8: Reconnecting the Water Supply
If the repair is successful and everything is functioning properly, the final step is to reconnect the water supply. Close all the faucets and fixtures that were opened during the drainage process and gradually restore the water flow.
Step 9: Monitoring for Further Issues
Even after a successful repair, vigilance is necessary to monitor the repaired water supply line for any potential issues. Regular inspections and maintenance can prevent future problems and ensure the long-term functionality of the system.

Even after a successful repair, vigilance is necessary to monitor the repaired water supply line for any potential issues.
In Summary
Understanding the process of water supply line repair is crucial for property owners and maintenance professionals alike. By following the step-by-step guide provided in this article, individuals can confidently address water supply line issues, ensuring the efficient and uninterrupted flow of water in their buildings. Remember to always exercise caution and seek professional assistance from a local plumber when dealing with complex or extensive repairs.