Stop Yard Flooding in Its Tracks with a French Drain
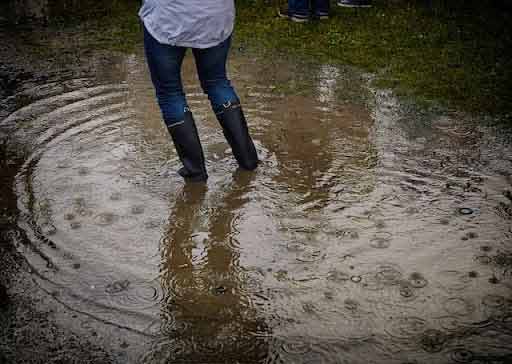
Damaged landscaping, increased risk of lawn disease, mosquitoes in the yard or water draining from your yard into your neighbor’s property; are just a few of the problems you get from having standing water in your yard. This flooding doesn’t have to be massive to cause major issues. Just one inch of water in the yard can cause you more than $25,000 worth of damage.
What causes yard flooding?
To prevent flooding caused by rainfall, Sage Property Management explains most homes are built in a way that allows runoff to be directed toward the front of your house, so it can be channeled safely to the city’s stormwater management system. For most homes, this design works perfectly. But, if the slope in your yard is not sufficient to let rainwater runoff, there will be flooding around the house.
If your home regularly experiences incidences of yard flooding, what can you do about it?
French drains: the best way to protect your yard from flooding
There are many ways to prevent or minimize floods in your yard. But the most effective solution is to have a French drain installed on your property.
French drains are preferred to any other method because:
- French drains are the most versatile solution for the long-term management of yard flooding.
- The practical, highly affordable and reliable, whether used for flood response or yard drainage.
- French drains can last 30-40 years, and they won’t alter the aesthetics of your property.
What is a French drain? How do they work, and how can you install one in your yard?
Installing a French drain
In simple terms, a French drain uses gravel and perforated/corrugated pipes to direct water from higher to lower ground. It is a trench dug in the area of your yard with the most flooding issues. This trench contains a perforated pipe, wrapped in water-permeable fabric and encased with a layer of stone or gravel before being covered with soil.
After heavy rainfall, excess water that collects in the yard will find its way into the French drain before being moved to a location where it won’t cause problems. This water percolates downward through the soil under the pull of gravity until it is drawn into the French drain, flowing through spaces in the layer of gravel and the pores of the water-permeable fabric.
To install a French drain in your yard, you need the following:
- Landscape fabric: For the best results, use non-woven geotextile fabric that weighs 4 ounces per square yard (minimum). Make sure the fabric is designed for drainage and not for separation.
- Stones or gravel: Avoid rounded stones; angular stone or gravel with particle size ranging from 3/4 – 2 1/2 inches is best. Base gravel #3 will work for most installations.
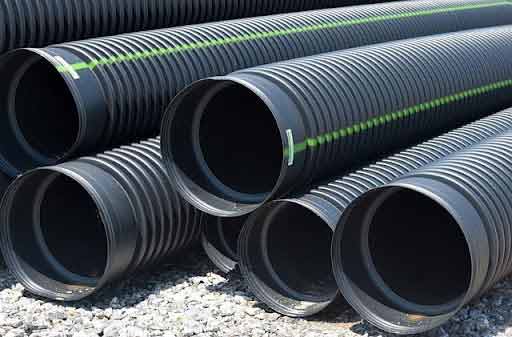
- Drainage Pipe: 4-inch perforated PVC or 4-inch perforated corrugated plastic are the two most-used materials. If you need to go around corners, use a corrugated pipe.
- Catch basins: These make it easy to clean the French drain.
To install the French drain, follow these steps:
- Decide where you want the water to go. Remove about 3 inches of sod from the area where the trench will be. Lay this aside to be reused when you complete the trench.
- Dig the trench using a shovel or mini excavator with a 12-inch bucket. The trench should be around 10-18 inches deep (shallow at its beginning and deeper as the slope increases).
- The trench should slope at 1 inch for every 8 feet to ensure it directs water downhill. You can verify this by measuring the trench with a hand level or a rotary level.
- Flatten the bottom of your trench with a hand tamper. Lay the fabric over your trench with the edges falling over the sides of the trench.
- Place the pipe inside the trench, on top of the fabric. If there are more than 100 feet of trench, join the pipe sections with pipe connectors and waterproof tape.
- Install your catch basin to serve as easy-to-reach cleanouts for the French drain at every 100 feet interval or shorter.
- Backfill the trench with gravel, and ensure there is gravel around the sides of the pipe and 4-6 inches of gravel on top. The more gravel you have in the trench, the better.
- Wrap everything by pulling the edges of your fabric so they overlap on top of the gravel. You may use duct tape to secure those edges.
- Lastly, backfill the trench with soil and replace the sod you removed at the beginning.
Finally, is this a project you can do on your own? The answer is YES and NO. Yes, because you should not have any difficulties following the instructions above. No, because you can damage utility lines when digging the trench or expose your home to foundation issues. That is why it’s always a good idea to talk to an expert before you install a French drain on your property.


