If you are looking to protect your basement from flooding and water damage, a sump pump is an essential tool. Whether you’re a DIY enthusiast or a homeowner looking to learn more, this article will provide you with all the information you need to successfully install a new sump pump system.
Why Do You Need a Sump Pump?
Before we dive into the installation process, let’s first understand why a sump pump is important for your home. A sump pump is designed to prevent water from flooding your basement, especially during heavy rainstorms or in areas with high water tables. By collecting excess water in a sump pit and then pumping it out and away from your home, a sump pump can help protect your foundation, walls, and belongings from water damage.
Assessing Your Needs
Prior to purchasing a new sump pump system, it’s important to assess your specific needs. Here are some factors to consider:
- Your basement size: The size of your basement will determine the capacity of the sump pump you’ll need.
- Water table level: If your area has a high water table, you may need a more powerful sump pump.
- Backup system: Consider whether you want a sump pump battery backup system installed to ensure your sump pump continues working during power outages.
- Additional features: Some sump pumps come with additional features such as alarms or Wi-Fi connectivity. Determine if these are necessary for your situation.
Gathering the Necessary Tools and Materials
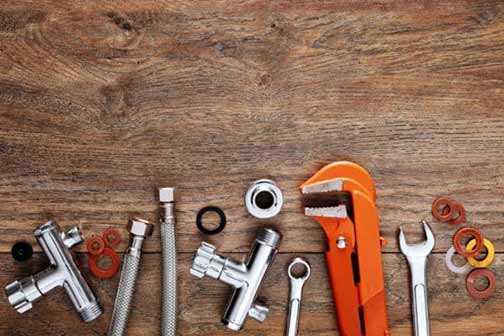
Before you begin the installation process, it’s important to gather all the necessary tools and materials. Here is a list of common items you’ll need:
- Sump pump
- Sump pit or basin
- PVC pipes and fittings
- PVC primer and cement
- Tape measure
- Hacksaw
- Screwdriver
- Adjustable wrench
- Drill
- Check valve
- Gravel
- Waterproof sealant
Installing the Sump Pump System
Now that you have all the necessary tools and materials, it’s time to install your new sump pump system. Follow these steps:
Step 1: Selecting the Installation Location
Choose a location in your basement where the sump pump will be installed. It’s best to select a spot closest to where water tends to accumulate. Ensure that there are no obstructions and enough space for the sump pit or basin.
Step 2: Digging the Sump Pit
Using a shovel, dig a hole for the sump pit. The size of the hole should allow for the sump pit to fit snugly, with a few additional inches of clearance on all sides. Make sure the bottom of the pit is level.
Step 3: Installing the Sump Pit
Place the sump pit or basin in the hole you dug, ensuring that it sits level. Use gravel to create a stable base and fill any gaps around the pit. This will help prevent the pit from shifting or floating when water accumulates.
Step 4: Installing the Sump Pump
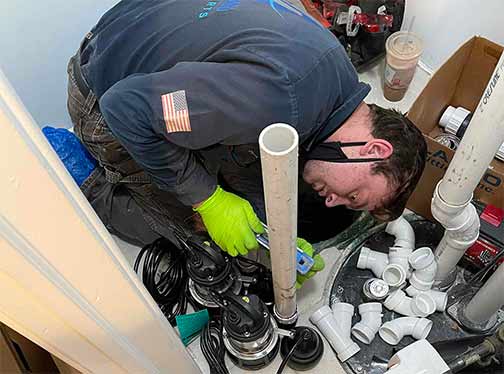
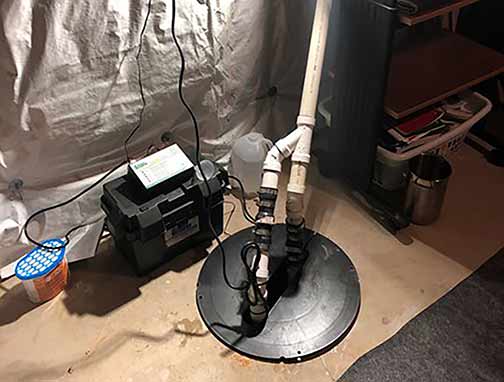
Place the sump pump inside the sump pit. Connect the check valve to the pump’s discharge port. Use PVC pipes and fittings to connect the check valve to the desired discharge location, such as a storm drain or a dry well.
Step 5: Securing the Sump Pump
Ensure that the sump pump is securely positioned inside the pit. Use bricks or blocks to stabilize the pump and prevent it from tipping over. This will help maintain proper functioning and prevent unnecessary vibration or noise.
Step 6: Testing the Sump Pump
Fill the sump pit with water to test the pump. Ensure that the pump activates and effectively removes the water from the pit. Verify that the water flows freely through the discharge pipe and out of your home. If everything is working correctly, you’re ready to move on to the final step.
Step 7: Sealing Gaps and Insulating
Use waterproof sealant to seal any gaps or openings around the sump pump system. This will prevent water from entering and ensure that the system operates efficiently. Additionally, consider insulating the discharge pipe to prevent freezing during cold weather.
Maintaining Your Sump Pump System
Installing a new sump pump system is just the beginning. To ensure it continues to work effectively, regular maintenance is crucial. Here are some maintenance tips to keep in mind:
- Test the sump pump regularly by pouring water into the pit. Check if the pump activates and removes the water properly.
- Clean the sump pit and remove any debris or sediment that may have accumulated over time.
- Inspect the discharge pipe for any clogs or obstructions that may hinder water flow.
- Check the pump’s power source and battery backup system (if applicable) to ensure they are functioning correctly.
- Replace the sump pump as recommended by the manufacturer or if it shows signs of wear and tear.
By following the steps outlined in this article and performing regular maintenance, you can safeguard your basement from potential water damage and enjoy peace of mind during heavy rainfall. Remember, if you are not confident in your DIY abilities, it’s always best to contact a professional to install your sump pump system.

