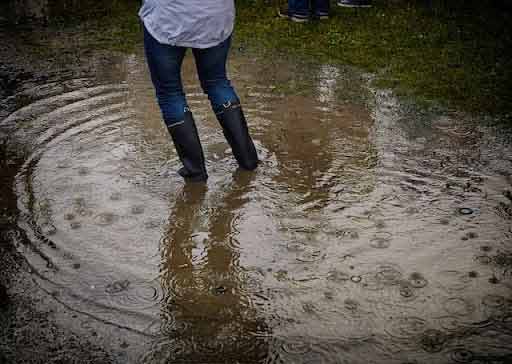
If you are dealing with a problem of frequent water infiltration into the basement of your Chicago home, you know how difficult and costly this problem can be.
A wet basement is not only a drain on your finances, but it also poses a threat to the structural integrity of your building and subjects the home to the risk of mold with its attendant problems, says Golden Properties.
When addressing this issue, you don’t want to wait until water seeps into your basement before you act. Instead, you want a solution that lets you keep water out of your home.
French drains are one of the best waterproofing measures for combating water seepage in the basement. A French drain collects water from the soil to channel it away from your building.
How French drains work?
French drains do not try to keep water out of your basement. The system assumes that water will find its way into your basement. Instead, the French drain keeps that water from seeping into the foundation. Here is how it does it.
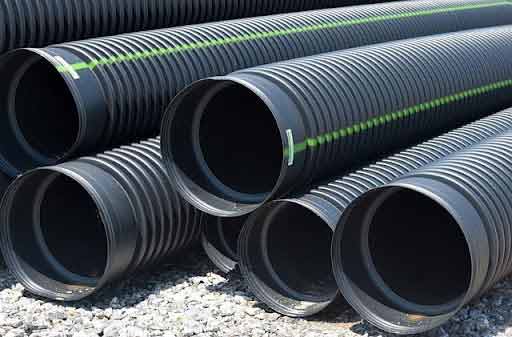
French drains are constructed by laying perforated or flexible corrugated pipes in a shallow trench with gravel at the bottom. This trench is backfilled and slightly compacted to keep the pipes in place.
Water that enters the basement or excess water in the soil flows into the French drain via the holes in the pipe. Under gravity, this water is channeled to a sump pit inside the basement or a discharge point in the yard.
By relieving hydrostatic pressure on walls, floors, and the foundation, French drains keep the soil from becoming over-saturated with water. It solves a problem that sealing the cracks and plugging the holes in the foundation cannot address.
Does your Chicago home need a French drain?
If you are currently dealing with any of the issues listed below, a French drain could be the right solution for the drainage problems in your Chicago home:
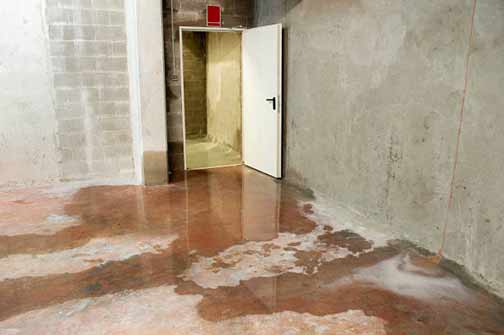
- Your basement or yard is soggy due to persistent seepage or flooding
- Your home is located in an area with heavy rainfall and high water tables
- The soil on your property is poorly drained, or the ground has inadequate grading
- Your home’s foundation is already cracked, or you have porous masonry
- You want to improve the existing waterproofing measures in your basement
- You want a waterproofing solution that is long-term and doesn’t hurt the home’s aesthetics

Installing a French drain is a major construction project. This is why you might need a professional French drain installation company or basement flooding service provider for this job.
Installing a French drain on your Chicago property
French drains are installed around your property, with a slope of one inch for every eight feet in the direction you want the water to flow. They are unobtrusive yet highly effective. Here are the steps for installing a French drain on your property:
- Check local zoning restrictions/obtain permits: Not every neighborhood permits the installation of French drains. An experienced Chicago basement flooding service can advise and assist with the needed permits.
- Dig a trench: The trench is dug in the lowest area in the yard or basement. It should be excavated to a depth of 1-2 feet and a width of 1-2 feet.
- Install fiber fabric: A layer of permeable filter fabric or weed barrier is laid inside the trench, with at least 10 inches of excess fabric at the sides. For the best results (optimal water flow and erosion prevention), use medium-weight fabric (4-6 ounces).
- Add a gravel bed: Pour a layer of washed gravel or landscaping stone into the pit. It should be 3 inches thick after compaction. It is a good idea to add a layer of river rock on top for better filtration and ease of maintenance.
- Lay perforated pipes in the pit: This is usually PVC or corrugated plastic pipes. After it is laid on top of the gravel bed, add more gravel to the sides and top of the pipe until it is well-covered.
- Install an inlet grate: This should be positioned in the part of your basement where the water pools the most. The grate should be securely fastened and easy to access for cleaning.
- Backfill the trench: After the pipes are laid and covered with gravel, pull the excess fabric over the gravel until the edges overlap and the entire system is hidden. Backfill the trench and compact lightly to ensure the pipes stay in place.
- Sump connection: Connect the French drain to your sump basin, collection pit, or the location in your yard where you want the water to be discharged.
Finally, remember that installing a French drain is a major construction project. This is why you might need a professional French drain installation company or basement flooding service provider for this job.
Additionally, French drains need to be maintained periodically, as they tend to clog with time or if there is heavy rain. The quality of the French drain installation affects its performance and determines how easily you can maintain the system.
Speaking with an experienced Chicago professional French drain installation and basement flooding service ensures the lowest cost and best results when installing a French drain in your basement.