The shower head is one of those things that we often forget about when it comes to potential damages and repairs. Unfortunately, they are very prone to damage and wear, and it’s good to replace them from time to time. If the time has come to install a new shower head, you’re in the right place. Going on a hunch is not recommended for bathroom repair, and replacing a shower head is no exception. That’s why our team at Chicago Plumbing Experts has decided to share some valuable tips on how to replace a shower head. And, of course, if you don’t feel like doing it yourself, know that there are always experts available out there who will do an excellent job whenever called upon.
When is the right time to replace a shower head?
Even if your shower head seems to be in excellent condition, many processes can be ongoing under the surface. The area inside a shower head is rich soil for bacteria to form. Showerheads are a prime location for bacteria because of their ever-present moisture. Eventually, it can even become a health hazard. So, even if you don’t see any problems, replacing a shower head once every 6 to 8 months is advisable. And, it goes without saying that if the shower head is broken or any other type of problem is visible, you should replace it right away. Continuing to use a broken showerhead could cause damage to your bathroom or even lead to injury.

If you’re wondering how often you should replace the shower head, the answer is every 6 to 8 months.
For example, if your shower head smells bad, this is a signal to replace it as soon as possible. Sometimes you might not even be able to locate the source of the foul smell, and it turns out it is your shower head. The bacteria we mentioned can cause this. However, various gasses from pipes that the functional shower head was supposed to deal with can also cause the smell. Therefore, replacing a shower head might remove the bathroom odors you were facing. As you can see, it’s clear why you should address all shower head issues quickly. After all, a shower head is something you and your family use daily, so it’s not a good idea to procrastinate with the replacement.
Choosing a new shower head
Before you learn how to replace a shower head, you’ll need to buy a new one first. Nowadays, there are so many different types of shower heads to choose from, and it will all depend on your preferences. Here are some of the most common types:
- Fixed shower head
- Handheld shower head
- Filtered shower head
- Rain shower head
- Massage shower head
- High-pressure shower head
It’s worth noting that there are some more expensive types out there with tons of additional features. But the basic types are perfectly fine as well; after all, they are the cheaper options. Plus, when it comes to bathroom upgrades, getting a new and slightly different shower head than you used to have, is an excellent place to start. There are plenty of cheap bathroom upgrades and easy ways to spruce it up, and you’ll enjoy the showers even more. Therefore, consider doing a few simple DIY upgrades, starting with the shower head.

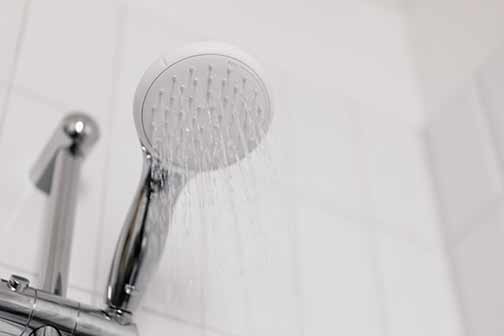
There are many types of shower heads out there, so before you learn how to replace a shower head, find a model that suits you the most.
Removing the old shower head
In most cases, you can easily remove the old shower head by hand. A few simple counterclockwise movements should be enough to do work. If your shower head is fixed, you’ll need a screwdriver. But, once again, it is pretty easy to remove it. Ensure the water is off so the whole process doesn’t become a mess. After removing the shower head, clean the area where you will put your new shower head. This is the beginning of the pipe called the shower arm. Unfortunately, as with any other pipe in your home, the shower arm could be damaged in many ways. If the pipe is damaged and you don’t know how to fix it, perhaps you should contact a plumber for some help. On the other hand, the damage might not be visible. If you suspect the pipes are malfunctioning, maybe you should call a local plumber to inspect the plumbing in your home.
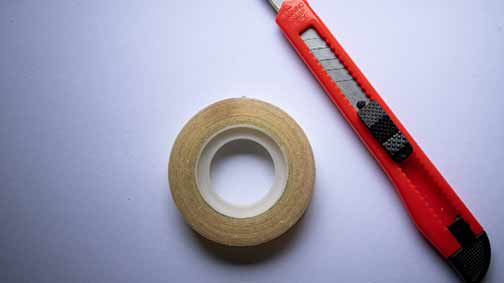
It might be useful to put Teflon tape on the shower arm before putting a new shower head
Putting Teflon tape on the beginning of the shower arm pipe is highly recommended. It prevents leaks that would almost certainly occur over time if there weren’t any tape. You’ll probably find a piece of old Teflon tape after removing your old shower head. It would be best if you didn’t leave the old tape because that wouldn’t provide any benefits. So, carefully remove the old Teflon tape and add a new one. When applying the new tape, 2 or 3 turns should be enough for the necessary protection. As for the way of putting this tape, we have another suggestion. Apply the tape in a clockwise motion because you will use the same motion to set a new shower head later. Therefore, you’ll avoid inflicting any damage to the tape. Save any excess tape for the next time you replace the shower head.

Don’t forget to get some Teflon tape before replacing a shower head.
Installing the new shower head
Finally, it’s time to put on a new shower head and finish things up. The new shower head will be easy to put by doing it in a clockwise motion. However, it would help if you protected the shower arm from twisting and turning. So, our suggestion would be, and experts at zippyshellcolumbus.com agree with us on this, to put a towel on the shower arm and use pliers to grasp it up to secure it. Make sure to fasten the new shower head firmly. Slowly turn on the water and check for any leaks.
Enjoy your new shower head!
Well, there you go. Now you know how to replace a shower head. It isn’t too complicated, but learning a thing or two about the process was certainly worth it. Now, all that’s left for you to do is enjoy your new shower head.