Water stains on drywall ceilings can be unsightly and may indicate a more significant underlying issue, such as a leak. It is crucial to address these stains promptly and efficiently to prevent further damage and restore the aesthetic appeal of your ceiling. In this step-by-step guide, we will outline professional strategies for repairing water stains on drywall ceilings.
Step 1: Identify the Cause
The first step in effectively repairing water stains on drywall ceilings is to identify and resolve the underlying cause. Common causes may include:
– Roof leaks
– Plumbing leaks
– Condensation
– Poor ventilation
Thoroughly inspect your ceiling and the area above it to identify the source of the water intrusion. It may be necessary to engage the services of a professional if the cause is not readily apparent.

Once the cause of the water stain has been identified, it is essential to make the necessary repairs before addressing the cosmetic aspect of the stain.
Step 2: Make Necessary Repairs
Once the cause of the water stain has been identified, it is essential to make the necessary repairs before addressing the cosmetic aspect of the stain. Depending on the cause, you may need to:
– Fix the roof or plumbing leaks
– Improve ventilation or insulation
– Resolve condensation issues
Taking care of the underlying problem will prevent future water stains and additional damage to your drywall ceiling.
Step 3: Prepare the Work Area
Before repairing the water stain, it is crucial to prepare the work area to minimize mess and make the process more efficient. Here’s how:
– Remove any furniture or items from the area beneath the stained ceiling.
– Cover the floor and remaining furniture with drop cloths or plastic sheets to protect them from dust or debris.
– Use tape to secure the drop cloths or plastic sheets in place.

Prior to repairing the water stain, it is important to clean the stained area properly.
Step 4: Clean the Stained Area
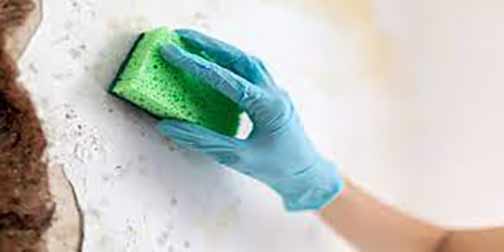
Prior to repairing the water stain, it is important to clean the stained area properly. Use the following steps to effectively clean the stained portion of the drywall ceiling:
– Dampen a sponge or cloth with a mild detergent solution.
– Gently wipe the stained area to remove any dirt or residue.
– Allow the area to dry completely before proceeding.
Step 5: Apply Stain Blocker
Applying a stain blocker is a crucial step in preventing water stains from reoccurring on your drywall ceiling. Follow these steps to apply a stain-blocking primer:
– Shake the stain blocking primer can well before use.
– Use a brush or roller to apply a thin and even coat of the primer to the stained area.
– Allow the primer to dry completely according to the manufacturer’s instructions.

Once the stain-blocking primer is dry, it is time to paint the ceiling to restore its cosmetic appeal.
Step 6: Paint the Ceiling
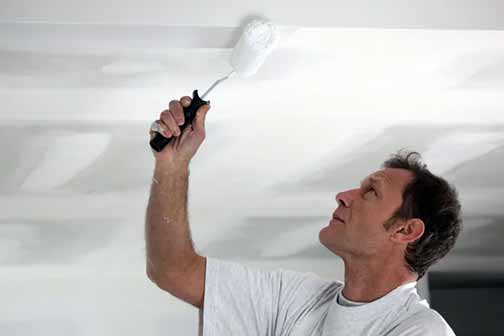
Once the stain-blocking primer is dry, it is time to paint the ceiling to restore its cosmetic appeal. Follow these steps to achieve a professional-looking finish:
– Choose a high-quality ceiling paint that matches the existing color.
– Stir the paint thoroughly to ensure an even consistency.
– Use a brush or roller to apply two coats of paint to the stained area, allowing sufficient drying time between coats.
– Feather the paint onto the surrounding area to ensure a seamless blend with the rest of the ceiling.
Step 7: Finishing Touches
After the paint has dried completely, inspect the repaired area for any imperfections and make any necessary touch-ups. Finally, clean up the work area, remove the drop cloths, and return any furniture or items to their original positions.
By following these efficient strategies, you can successfully repair water stains on drywall ceilings. Remember to address the underlying cause, prepare the work area, clean the stained area, apply a stain blocker, paint the ceiling, and complete any necessary touch-ups. With careful attention to detail and patience, your drywall ceiling will be restored to its original pristine condition.
