Having a leaking shut-off valve on your toilet can be quite a nuisance. Not only does it waste water, but it can also cause damage to your bathroom floor if left unattended. Fortunately, fixing a leaking shut-off valve on your toilet is a relatively simple task that can be done by most homeowners. In this article, we will guide you through the step-by-step process of fixing a leaking shut-off valve on your toilet, ensuring that you can tackle this common plumbing issue with ease.
Understanding the Shut-Off Valve
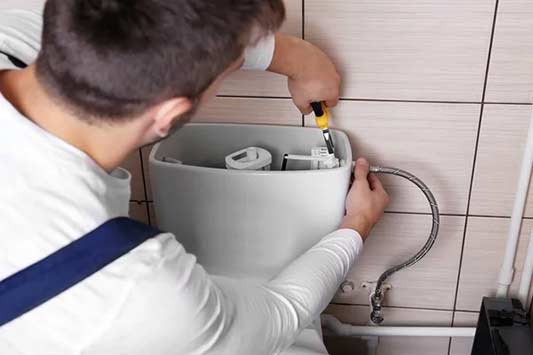
Before we delve into the steps for fixing a leaking shut-off valve on your toilet, it’s important to understand what a shut-off valve is and how it works. A shut-off valve is typically located near the base of the toilet and is used to control the flow of water to the tank. When the valve is in the open position, water flows freely into the tank, allowing the toilet to flush. When the valve is closed, water flow is stopped, preventing water from entering the tank.
When a shut-off valve leaks, it means that water is seeping through the valve even when it is closed. This can be caused by a variety of factors, including worn-out washers, loose connections, or a faulty valve body. By following the steps outlined below, you will be able to identify and fix the cause of the leak, ensuring that your shut-off valve functions properly.
Gather the Necessary Tools and Materials
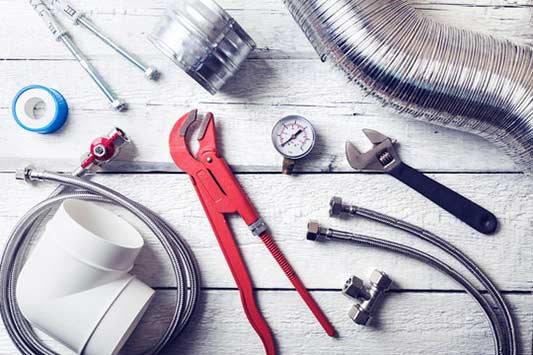
Before you start working on fixing the leaking shut-off valve on your toilet, it’s important to gather all the necessary tools and materials. These may include:
- Adjustable wrench
- Slip-joint pliers
- Replacement washers
- Teflon tape
- Bucket or towel
Make sure to have these items readily available before you begin the repair process. This will save you time and prevent any potential frustration of having to search for tools or materials midway through the project.
Before you start working on fixing the leaking shut-off valve on your toilet, it’s important to gather all the necessary tools and materials.
Step 1: Turn off the Water Supply
The first step in fixing a leaking shut-off valve is to turn off the water supply to your toilet. Look for the main water shut-off valve located near your water meter and turn it clockwise until it is fully closed. This will stop the flow of water to your toilet and prevent any water from leaking during the repair process.
Step 2: Empty the Toilet Tank
Once you have turned off the water supply, flush your toilet to empty the tank and remove any remaining water. This will allow you to work on the shut-off valve without the risk of water spilling or causing any further damage.
Step 3: Inspect the Shut-Off Valve
With the water supply turned off and the toilet tank emptied, you can now inspect the shut-off valve for any visible signs of damage or wear. Check for any loose connections, cracks, or corrosion that may be causing the leak. If you notice any severe damage, it may be necessary to replace the entire shut-off valve.
Step 4: Tighten Loose Connections
If the shut-off valve appears to be in good condition, but you still notice a leak, it is possible that the leak is being caused by loose connections. Use an adjustable wrench or slip-joint pliers to tighten any loose nuts or connections. Be careful not to overtighten, as this can cause further damage.
Step 5: Replace the Washer
If tightening the connections does not resolve the leak, it is likely that the washer inside the shut-off valve is worn out or damaged. To replace the washer, follow these steps:
- Using an adjustable wrench, hold the shut-off valve body steady.
- Using slip-joint pliers, unscrew the packing nut located just below the handle of the shut-off valve.
- Once the packing nut is removed, you will be able to access the washer inside the valve.
- Remove the old washer and replace it with a new one of the same size.
- Reassemble the shut-off valve by screwing the packing nut back in place.
Step 6: Apply Teflon Tape
To ensure a watertight seal, apply Teflon tape to the threads of the shut-off valve where it connects to the toilet tank. This will help prevent any potential leaks in the future. Wrap the Teflon tape clockwise around the threads several times, ensuring a snug fit.
Step 7: Test for Leaks
Once you have completed the repair process, it’s important to test the shut-off valve for any remaining leaks. Turn the water supply back on and observe the shut-off valve for any signs of water seepage. If you notice any leaks, repeat the steps above to identify and fix the issue.
To Wrap It Up
Fixing a leaking shut-off valve on your toilet is a relatively straightforward process that can be done by most homeowners. By following the step-by-step guide outlined in this article, you will be able to identify the cause of the leak and repair it effectively. Remember to always turn off the water supply before starting any repair work, and gather all the necessary tools and materials beforehand to ensure a smooth and hassle-free experience. With a properly functioning shut-off valve, you can rest assured that your toilet will operate efficiently and without any leaks.