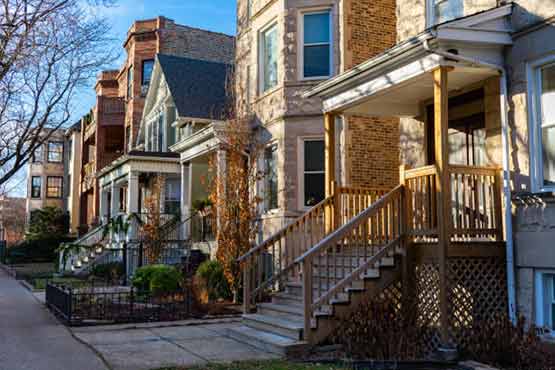
Chicago is known for its rich history and stunning architecture, with many homes dating back to the early 1900s. While these homes are beautiful, they often come with outdated plumbing systems that can be costly to replace. In this article, we will discuss the factors that impact the cost of replacing plumbing in an old Chicago home.
The Age and Condition of the Plumbing System
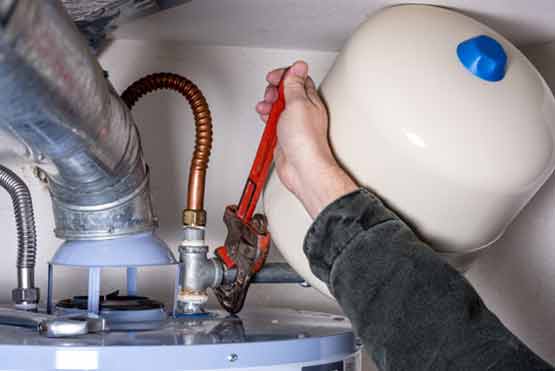
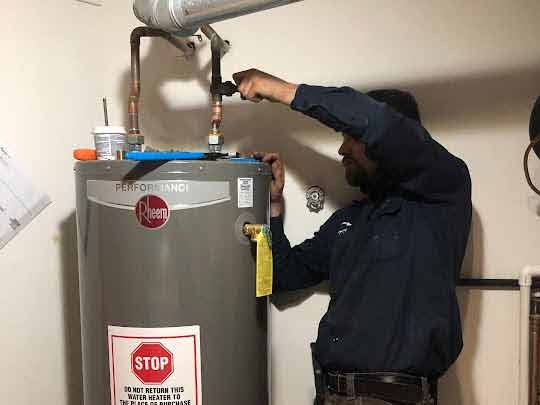
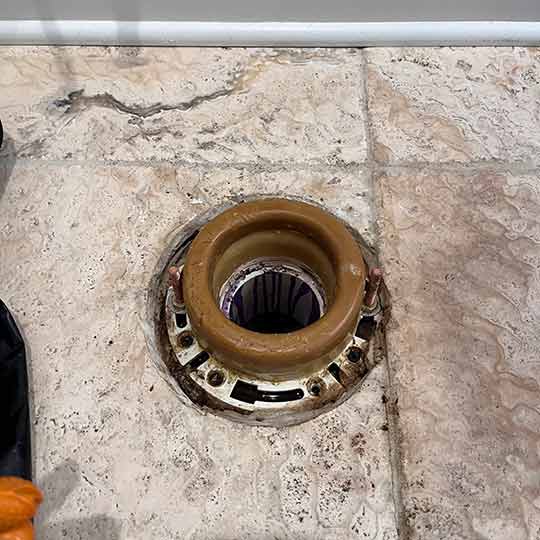
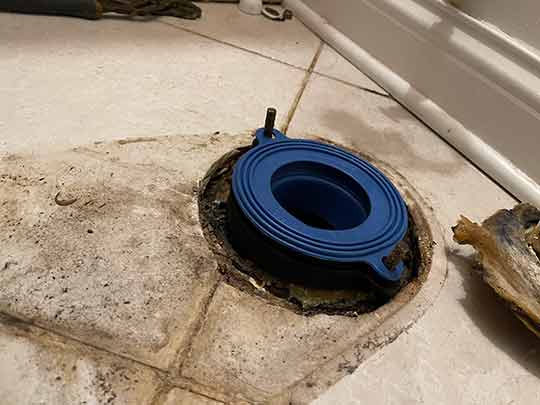
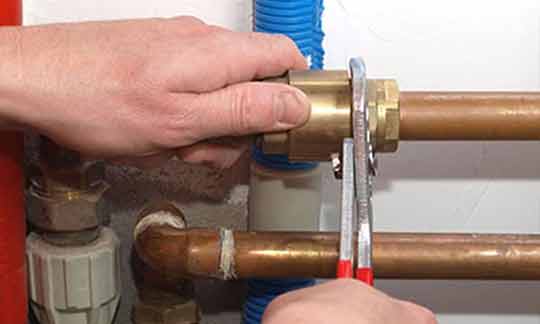
The age and condition of the plumbing system in your home will play a significant role in determining the cost of replacement. Homes built before 1960 often have galvanized steel or cast iron pipes, which have a lifespan of around 50 years. These pipes are prone to rust and corrosion, and as they age, they become more susceptible to leaks and burst pipe emergencies.
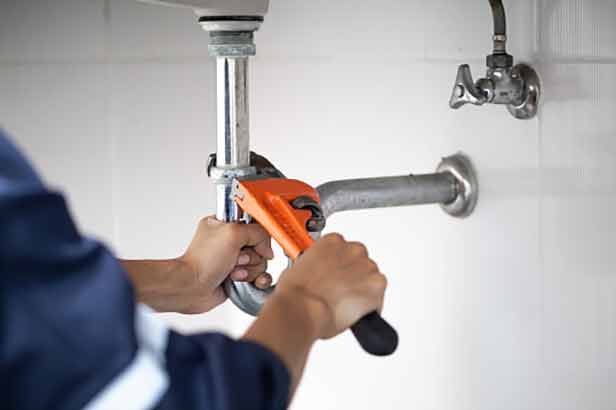
If your home has old or outdated plumbing, it may be time to replace it. A licensed plumber can assess the condition of your pipes and provide you with an estimate for replacement costs. The cost can vary widely depending on the size of your home and the complexity of the plumbing system.
The Size of the Home
The size of your home will also impact the cost of replacing and/or repiping services. Larger homes will require more pipes, fittings, and labor, which can drive up the cost of the project. Additionally, multi-story homes may require more extensive work to access pipes in walls and ceilings, which will add to the total cost.
The Complexity of the Plumbing System
The complexity of the plumbing system in your home will also impact the cost of replacement. If your home has a complex layout or unique features, such as multiple bathrooms or a water-intensive appliance like a dishwasher or washing machine, the cost of replacement will be higher.
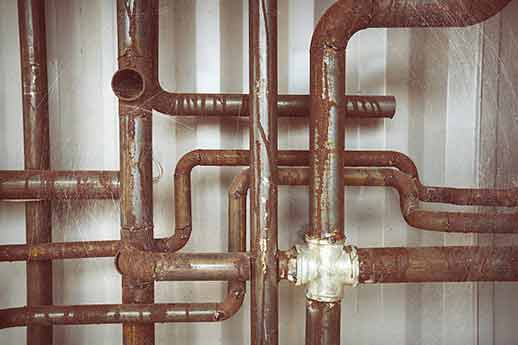
The age and condition of the plumbing system in your home will play a significant role in determining the cost of replacement.
The Type of Pipes Used
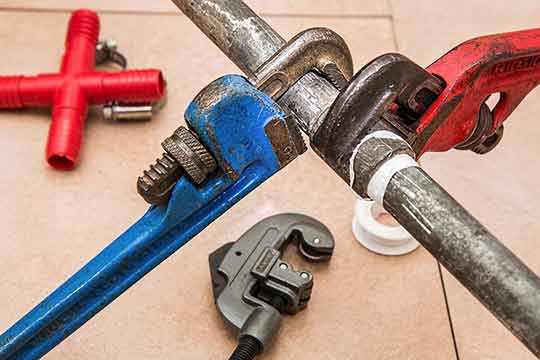
The type of pipes used in the replacement of your plumbing system will also play a role in determining the cost of the project. Copper piping is a popular choice for new plumbing systems because it is durable, long-lasting, and resistant to corrosion. However, it can be more expensive than other materials, such as PVC or PEX.
PVC and PEX are also popular materials for plumbing systems, as they are less expensive than copper and easier to install. However, both materials have a shorter lifespan than copper and may require replacement sooner.
Labor Costs
The cost of labor will also impact the total cost of replacing plumbing in your home. Labor costs will vary depending on the size and complexity of the project, as well as the experience and qualifications of the plumber. It is important to work with a licensed plumber who has experience with older homes and understands the unique challenges of working with outdated plumbing systems.
Permits and Other Fees
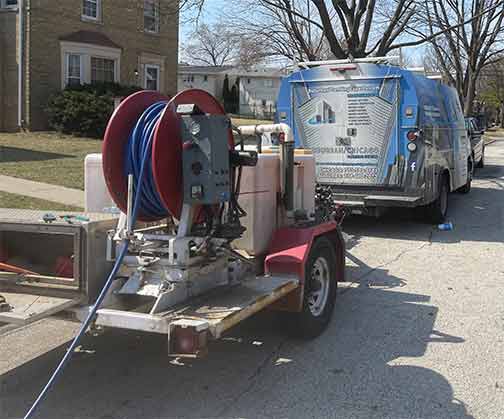
When replacing plumbing in an old Chicago home, you will also need to factor in the cost of permits and other fees. The cost of permits will depend on the scope of the project and can range from a few hundred dollars to several thousand dollars.
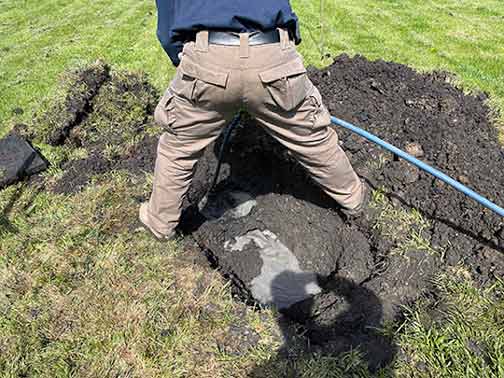
Other fees may include excavation costs if the plumbing system requires digging, as well as fees for disposal of old pipes and fixtures.
To Sum It Up
Replacing plumbing in an older home can be expensive, but it is an essential investment in the safety and functionality of your home. The cost of replacement will vary depending on a range of factors, including the age and condition of the plumbing system, the size and complexity of the home, and the type of pipes used.
Working with a licensed plumber who has experience with older homes can help ensure that the project is completed safely and efficiently. With careful planning and budgeting, you can replace the plumbing in your home and enjoy a modern, efficient system for years to come.