Water pipes burst in Chicago for several reasons, many of which are avoidable. But when you have a burst water pipe discharging water into your home, you really don’t care about the cause of the problem. You want to know how you can save your home and belongings.
In these situations, Francis Taylor Properties say prompt and decisive action is required. In the first few minutes of the event, the speed and preciseness of your actions will make a world of difference to how much you eventually spend on fixing the water damage to your home.
This post explains the crucial steps to minimize the impact of a ruptured water pipe in your home.
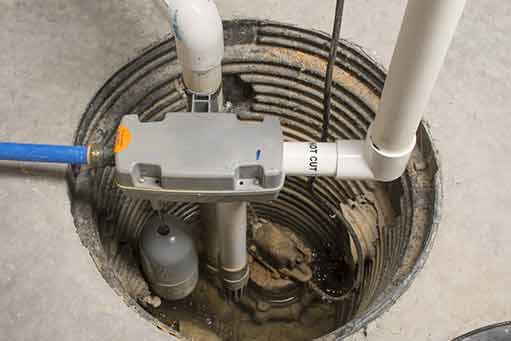
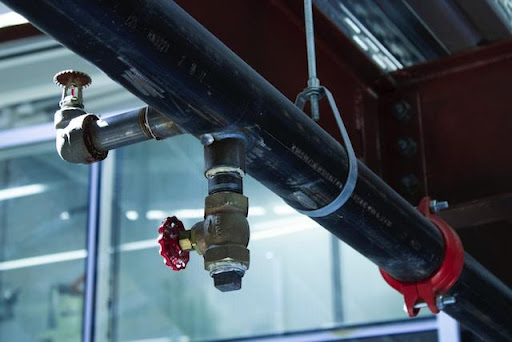
Shut the water from the mains
Stop the burst pipe from releasing more water into your home. Shut the supply of water by closing the water main shut-off valve for your house. This is usually located outside the home, and every member of your household must know the location of the water main shut-off valve and how to use it.
Drain faucets
To stop more water from being released onto the floor of your home, drain all remaining water out of the faucets. But before you do this, ensure that the water heater has been turned off. Open the cold water faucets first, followed by the hot water faucets, and lastly, flush your toilets several times to get rid of all the water.
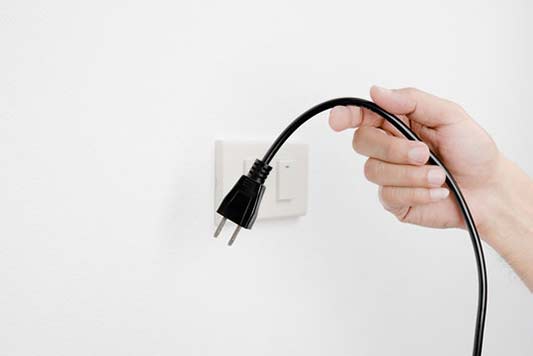
Remove your belongings from the path of the water
To minimize damage, remove all items vulnerable to water, such as carpets, furniture, clothes and other absorbent materials. Take them outside the house or place them on platforms. If there are electrical appliances in the region of the flood, avoid the risk of electric shock by turning off the water supply to your home.
Now that you have taken steps to prevent further damage to your home, it is time to assess the situation.
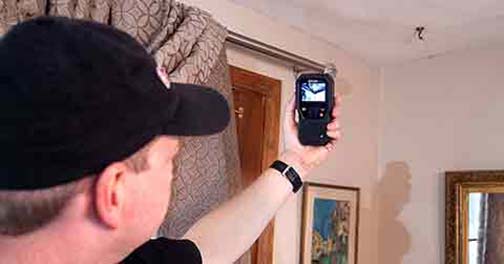
Take stock of the damage
Now that you have taken steps to prevent further damage to your home, it is time to assess the situation. Slowly do a walkthrough of the affected areas with a camera. Record and take pictures of the scene, shooting from different angles for a clear perspective of the damage. The insurance claims adjuster will need this information.
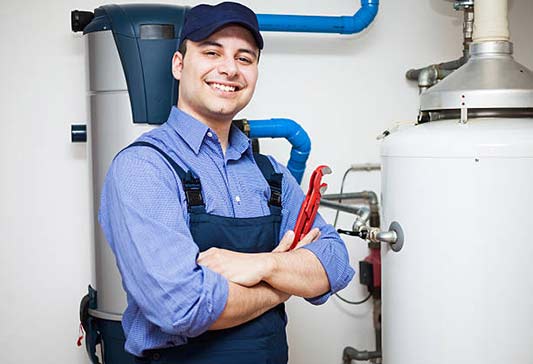
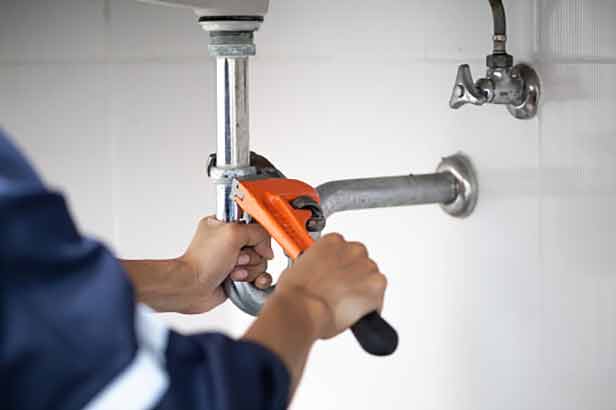
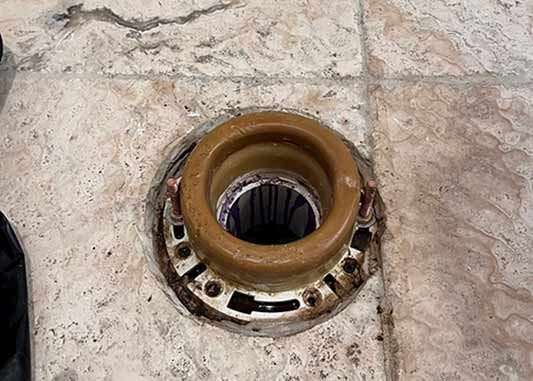
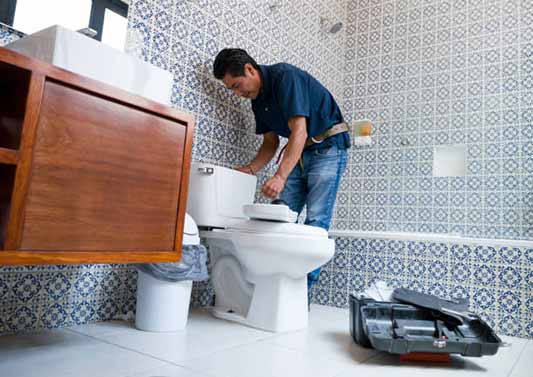
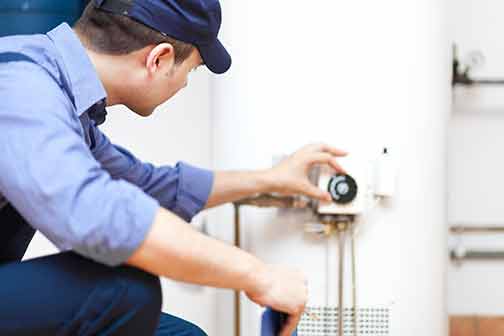
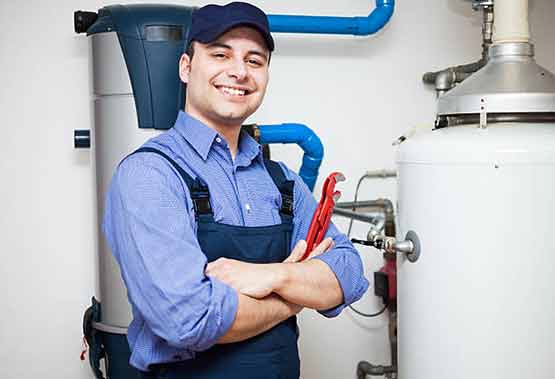
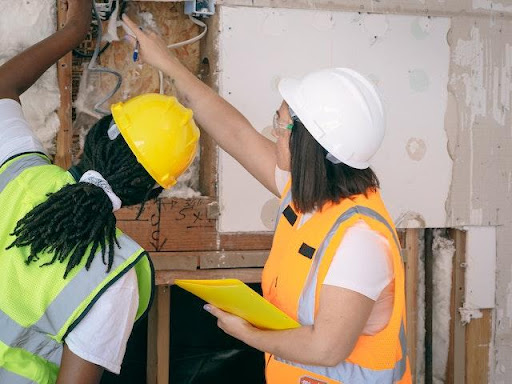
Call a professional plumber
A good plumber will not only repair your burst pipe, they will explain why it happened and what you can do to prevent a recurrence. Using a plumber who is insured and who will guarantee their work is vital. The quality of the plumbing work will not only keep your home safe by preventing future problems but it can also influence your insurance claims.
Contact your insurance agent
You must inform the insurance company as soon as possible. This will not only fast-track the process of making your insurance claims, but your insurance agent can provide vital information that will make the process of water damage restoration quicker and easier. If the agent asks you any questions, do not answer them if you are unsure.
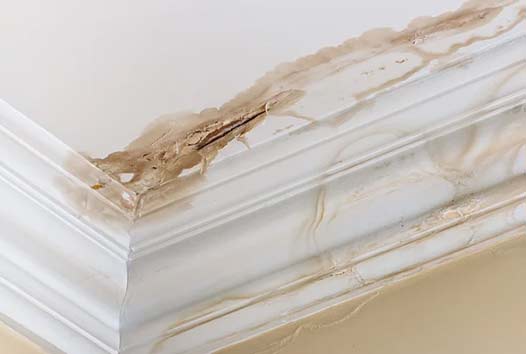
Mop up the water
The next step is to remove the water from your home. You want to start this as soon as possible. Quick action will reduce the amount of damage to your flooring, walls or ceilings and minimize the risk of mold and mildew. Mop up the water as quickly as you can and dry the area thoroughly.
Keep your doors open
To facilitate the drying process, you should improve airflow within your home. Do this by opening all the doors and windows. Improved ventilation will accelerate the rate of evaporation and further reduce the risk of mold and mildew. Do not forget to open the cupboard, cabinet, and vanity doors. Do this even if they were not touched by the water.

Raise the indoor temperature of your home to help the water dry faster and reduce your water damage repair costs.
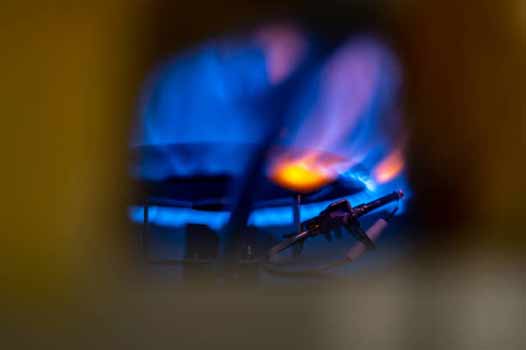
Heat your home
Raise the indoor temperature of your home to help the water dry faster and reduce your water damage repair costs. If the problem was caused by a frozen pipe, you will need to thaw it by applying heat directly to it or by warming the room where the pipe is. Do this with a hair dryer, an electric heating pad or a space heater (you can hire one).
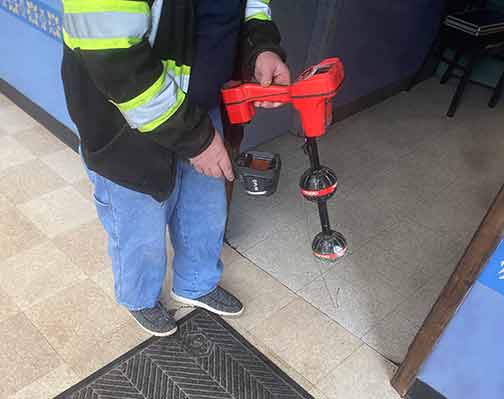
Prevent it from happening again
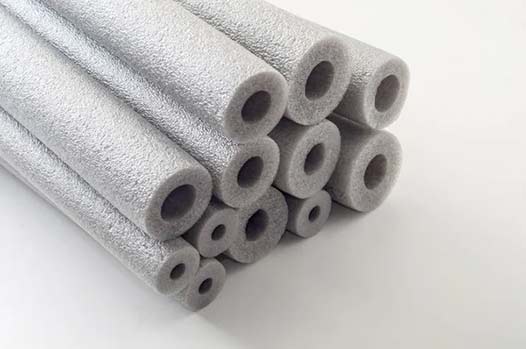
Now it is time to find out the immediate and remote reasons why the pipe burst. Water pipes burst for several reasons, but the most common one is extremely low winter temperatures. Taking the proper steps to maintain your water pipes and protect them from cold will help you avoid this problem in the future.
Finally, consider the value of retaining the services of an emergency plumber nearby. This kind of relationship means you get preferential treatment from your plumber during times of emergency. Your home’s plumbing will also be maintained in a consistent manner that greatly limits the risk of damage.