Problems with Yard Drainage in Chicago
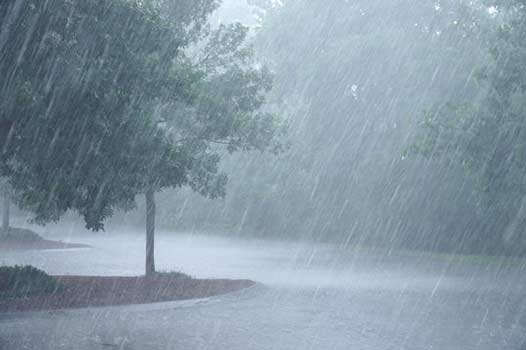
Chicago is known for its unpredictable weather and heavy rainfall. While the rain is essential for keeping the city beautiful and green, it can cause significant issues for homeowners, particularly when it comes to yard drainage. Excessive rainwater can lead to flooding, water damage, and even foundation issues if not properly addressed.
Many Chicago homeowners struggle with poor yard drainage, which can create a range of problems. If you find yourself dealing with a perpetually soggy yard, standing water after a storm, or water seeping into your basement, it is crucial to take action and find a reliable yard drainage solution.
The Importance of Proper Yard Drainage
Effective yard drainage is more than just a matter of convenience. It is an essential component of maintaining the structural integrity of your home and ensuring the well-being of your family. Here are a few reasons why proper yard drainage is crucial:
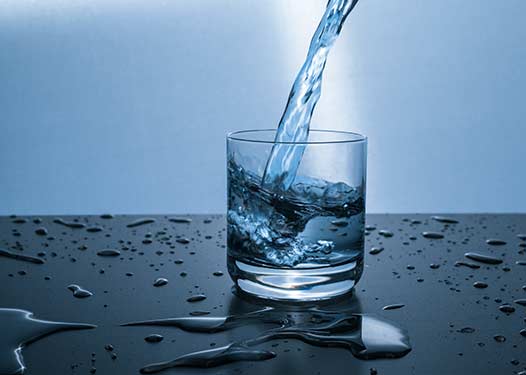
- Prevent Flooding: By directing water away from your home, a reliable yard drainage system prevents flooding, which can cause extensive damage and costly repairs. It helps keep your basement dry and protects your foundation from water-related issues.
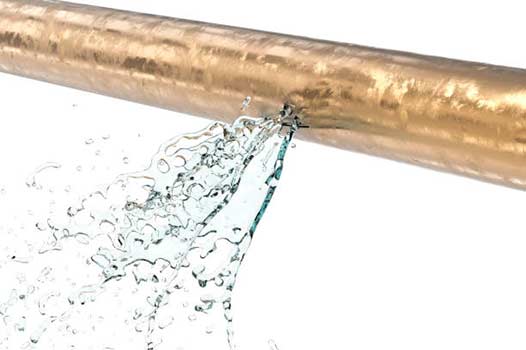
- Avoid Water Damage: Excessive moisture in your yard can lead to water seeping into your basement or crawl space, damaging furniture, flooring, and personal belongings.
- Protect Landscaping: Proper drainage helps protect your landscaping investments, preventing waterlogged soil, root rot, and the death of plants and trees.
- Prevent Erosion: Adequate yard drainage prevents soil erosion, which can lead to uneven ground, sinkholes, and landscape instability.
- Promote Healthy Environment: By preventing standing water, you reduce the risk of mosquito breeding grounds and the spread of waterborne illnesses.
Choosing the Right Yard Drainage Solution
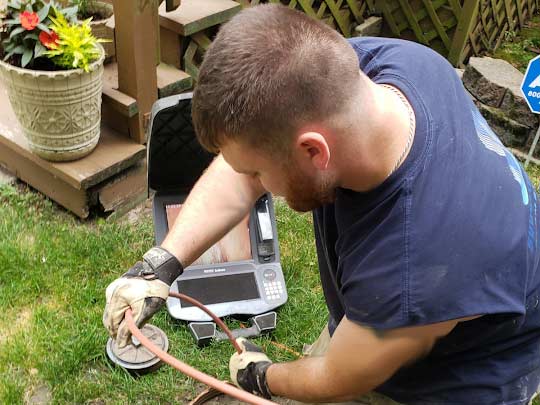
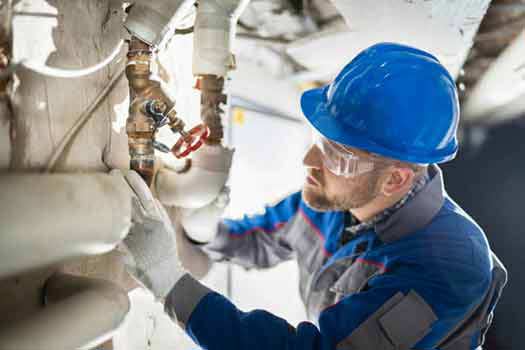
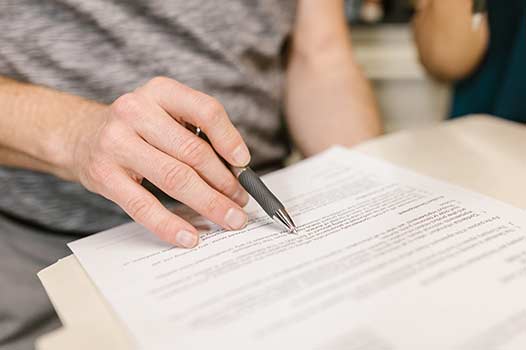
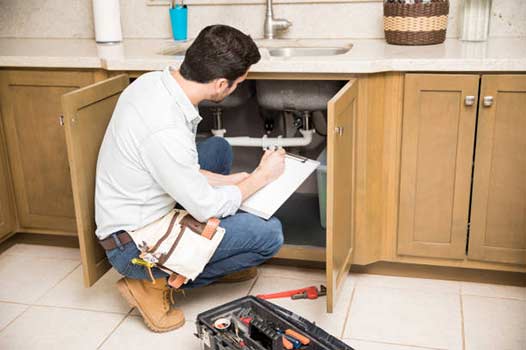
When it comes to finding the right yard drainage solution in Chicago, it is essential to consult with professionals who understand the unique challenges of the area. Chicago Plumbing Experts is a trusted and reliable company that specializes in yard drainage solutions such as French drain installation service tailored to the specific needs of homeowners in Chicago.
Chicago Plumbing Experts offers a wide range of yard drainage services, including:
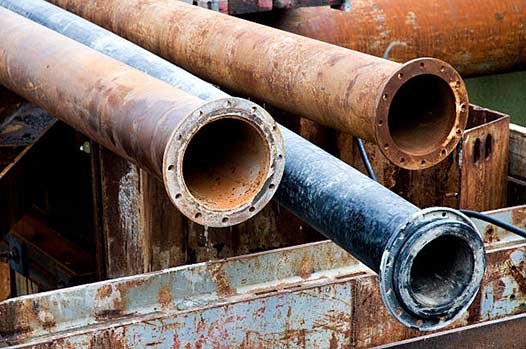
- French Drains: These drains are designed to collect and redirect excess water away from your property. They utilize a perforated pipe surrounded by gravel that creates a path for water to flow through, preventing drainage issues.
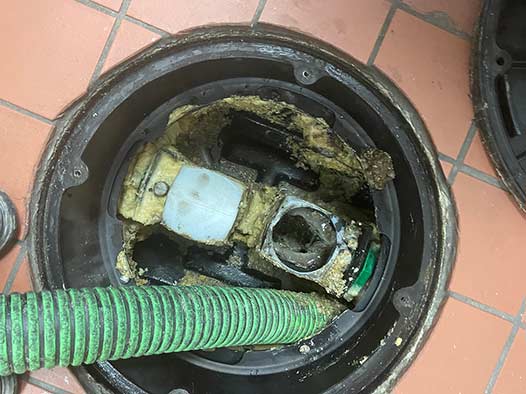
- Sump Pump Installation: Sump pumps are an effective solution for homes with water intrusion issues. They collect water from the ground and pump it away from the foundation, keeping your basement dry.
- Gutter and Downspout Extensions: Properly functioning gutters and downspouts are crucial for directing rainwater away from your home. Chicago Plumbing Experts can install extensions to ensure water is effectively transported away from your property.
- French Drain Cleaning and Maintenance: Regular cleaning of your French drain system are necessary to keep it functioning optimally. Chicago Plumbing Experts offers professional cleaning and maintenance services to ensure your yard drainage system operates effectively.
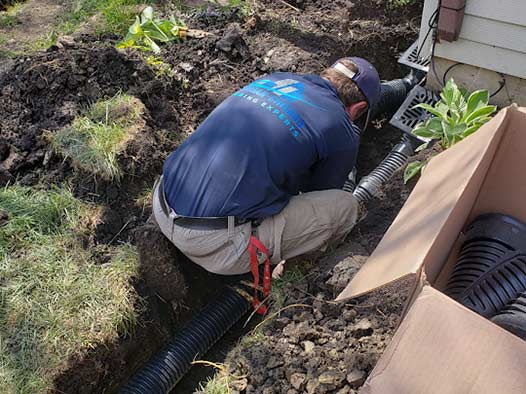
French drains are designed to collect and redirect excess water away from your property. They utilize a perforated pipe surrounded by gravel that creates a path for water to flow through, preventing drainage issues.
The Benefits of Choosing Chicago Plumbing Experts
When you choose Chicago Plumbing Experts for your yard drainage solution, you can expect a range of benefits that set us apart from other residential plumbing companies in Chicago:
- Expertise: Chicago Plumbing Experts has extensive knowledge and experience in designing, installing, and maintaining effective yard drainage systems for Chicago homeowners.
- Custom Solutions: We understand that each home is unique, and their experts will create a custom yard drainage solution tailored to your specific needs.
- Quality Materials: Chicago Plumbing Experts uses high-quality materials and equipment to ensure the longevity and effectiveness of their yard drainage systems.
- Timely Service: We value your time and strive to provide prompt and reliable service. Our team will work efficiently to have your yard drainage solution installed in a timely manner.
- Excellent Customer Support: From the initial consultation to the completion of the project, Chicago Plumbing Experts is committed to providing excellent customer support. Our friendly and knowledgeable staff will address any questions or concerns you may have.
- Affordability: Chicago Plumbing Experts offers competitive pricing for our yard drainage solutions, ensuring that you receive the best value for your investment.
Contact Chicago Plumbing Experts Today
If you are experiencing yard drainage issues in Chicago and need a reliable solution, look no further than Chicago Plumbing Experts. Our team of experts is ready to assist you in designing, installing, or maintaining an effective yard drainage system tailored to your specific requirements. Don’t let poor yard drainage cause further damage to your property. Contact Chicago Plumbing Experts today at 773-599-9181 and get the professional solution you deserve.
—