The Importance of Sewer Line Maintenance
As the New Year approaches, many of us start thinking about resolutions and setting goals for the upcoming year. While most people focus on personal health, career aspirations, or personal development, it is important to remember to include household and property maintenance in our list of resolutions. One area that is often overlooked but is crucial for the well-being of our homes is sewer line maintenance. Below we will explore why sewer line maintenance should be on your list of New Year resolutions.
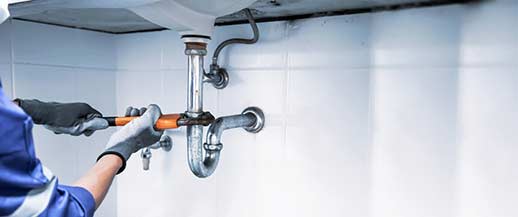
Preventing Costly Repairs
One of the main reasons why sewer line maintenance should be a priority is because it helps prevent costly repairs down the line. Sewer line issues can be expensive to fix, often requiring excavation and replacement of damaged pipes. Regular maintenance, such as inspections and cleaning, can help identify any potential issues early on and take preventive measures before they escalate into major problems.
Preserving Property Value
Another significant reason to include sewer line maintenance in your New Year resolutions is the preservation of property value. A well-maintained sewer system not only ensures the functionality of your home’s plumbing but also contributes to the overall value of your property. If you plan on selling your home in the future, a properly maintained sewer line can be an attractive selling point that increases the marketability and value of your property.
Promoting Health and Hygiene
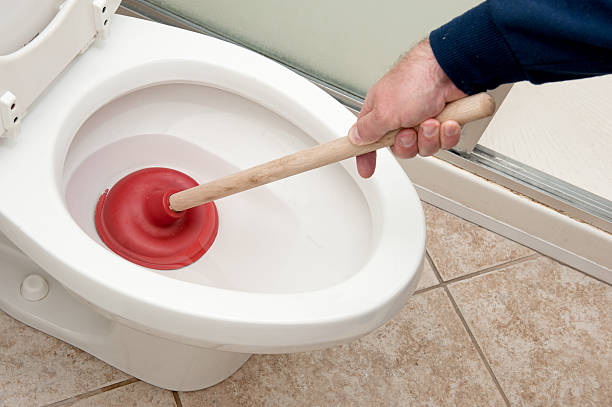
Proper sewer line maintenance is not only essential for the functionality and value of your property but also for the health and hygiene of you and your family. A malfunctioning sewer line can lead to sewage backups, foul odors, and potential health hazards. By prioritizing sewer line maintenance, you can ensure the cleanliness and well-being of your home environment.

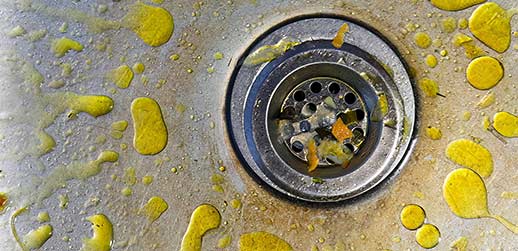
Through inspections and diagnostics, professionals can detect issues such as tree root intrusion, pipe corrosion, cracks, and blockages.
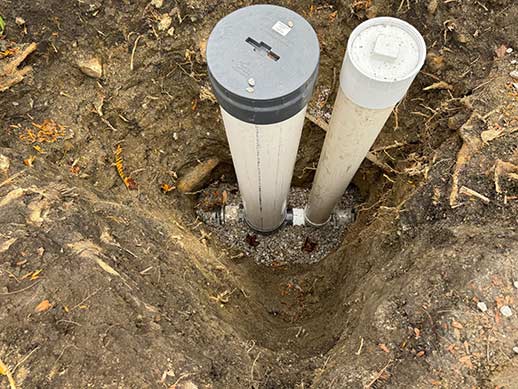
Identifying Early Warning Signs
Regular sewer line maintenance allows for the early identification of warning signs that may indicate potential issues. Through inspections and diagnostics, professionals can detect issues such as tree root intrusion within your sewer line, pipe corrosion, cracks, and blockages. By catching these warning signs early, you can take prompt action to address the problem before it worsens and leads to extensive damage.
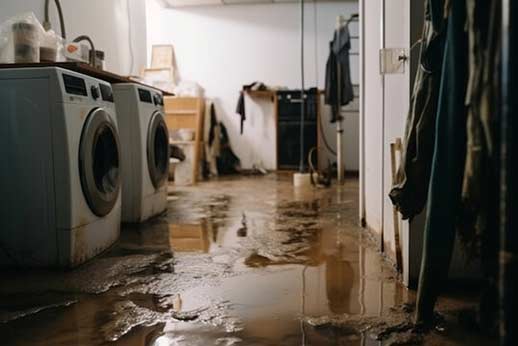
Preventing Environmental Contamination
Aside from the impact on your property and health, a neglected sewer line can also lead to environmental contamination. Sewage leaks can pollute the soil and water sources, posing a significant risk to the surrounding ecosystem. By incorporating sewer line maintenance into your New Year resolutions, you are helping to protect the environment and minimize the potential for contamination.
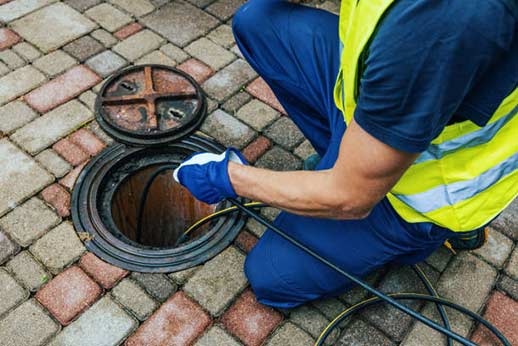
Choosing the Right Professionals
When it comes to sewer line maintenance, it is crucial to choose the right professionals who have the expertise and experience in handling such tasks. Look for licensed and insured plumbers or sewer specialists who can provide comprehensive services, including inspections, maintenance, repairs, and replacements. Seeking recommendations from trusted sources or reading customer reviews can help you find reliable professionals who can efficiently clean your sewer line.

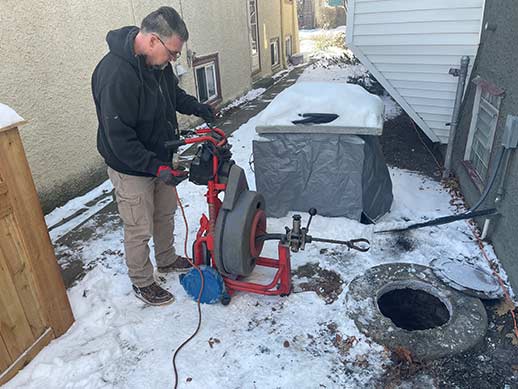
Using techniques such as hydro jetting, can remove debris, scale buildup, and tree roots that can potentially cause blockages and damage.
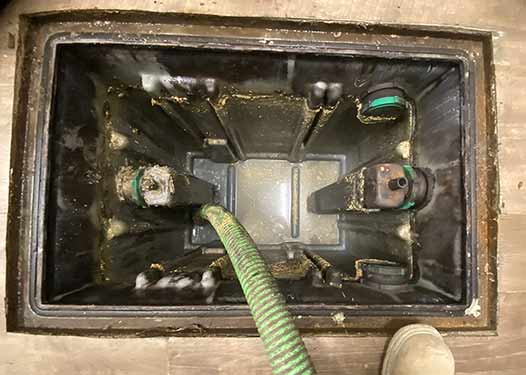
The Role of Preventive Maintenance
Preventive maintenance plays a significant role in the longevity and performance of your sewer line. Regular cleaning and calling for a professional hydro jetting service can remove debris, scale buildup, and tree roots that can potentially cause blockages and damage. Inspections, whether through video cameras or other diagnostic tools, can detect any hidden issues and ensure the integrity of the sewer system.
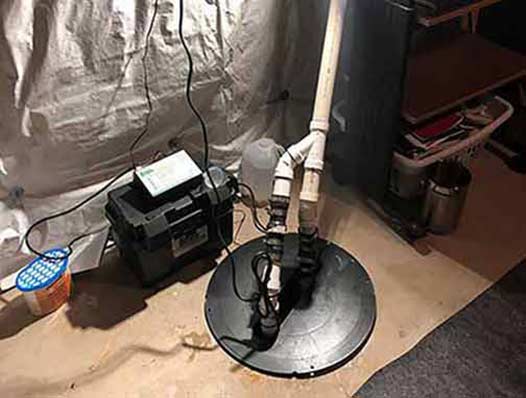
Building a Maintenance Schedule
To ensure consistent sewer maintenance, it is beneficial to create a maintenance schedule. This schedule can include regular inspections, cleaning, and any necessary sewer line repairs. By adhering to a maintenance schedule, you can stay on top of any potential issues and take proactive measures to prevent major problems from occurring.
Wrapping it Up
As you plan your New Year resolutions, it is important to consider the often overlooked aspect of sewer line maintenance. By prioritizing the care and maintenance of your sewer line, you can prevent costly repairs, preserve property value, promote health and hygiene, identify early warning signs, prevent environmental contamination, and ensure the longevity and performance of your sewer system. With the help of professionals and a well-established maintenance schedule, you can start the New Year off right by prioritizing sewer line maintenance and enjoying the peace of mind that comes with a well-maintained home.